Alex Dawkins

Cloud Consultant and Software Developer.
Duck Driver - Bath Hack 2021 Winner
by Alex Dawkins
We won the “Most Impressive” award, and were voted 2nd in the “Hacker’s Choice” category! Sergios, Luke, Joe and I worked so hard and I’m extremely proud of us, especially as none of us had any real electronics experience, other than A-Level physics.
View the source here.
(Currently non-functioning) Website: duckdriver.co.uk
Part 1: Our Idea
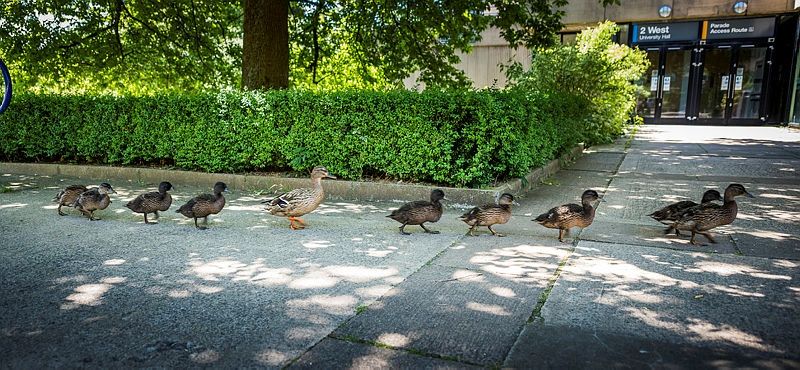
On the 10th of April 2021, my team and I got ready to devote the next 24 hours to making our idea come to life: a remote controlled duck that will let us remotely waddle around the University of Bath campus from the perspective of a campus mascot.
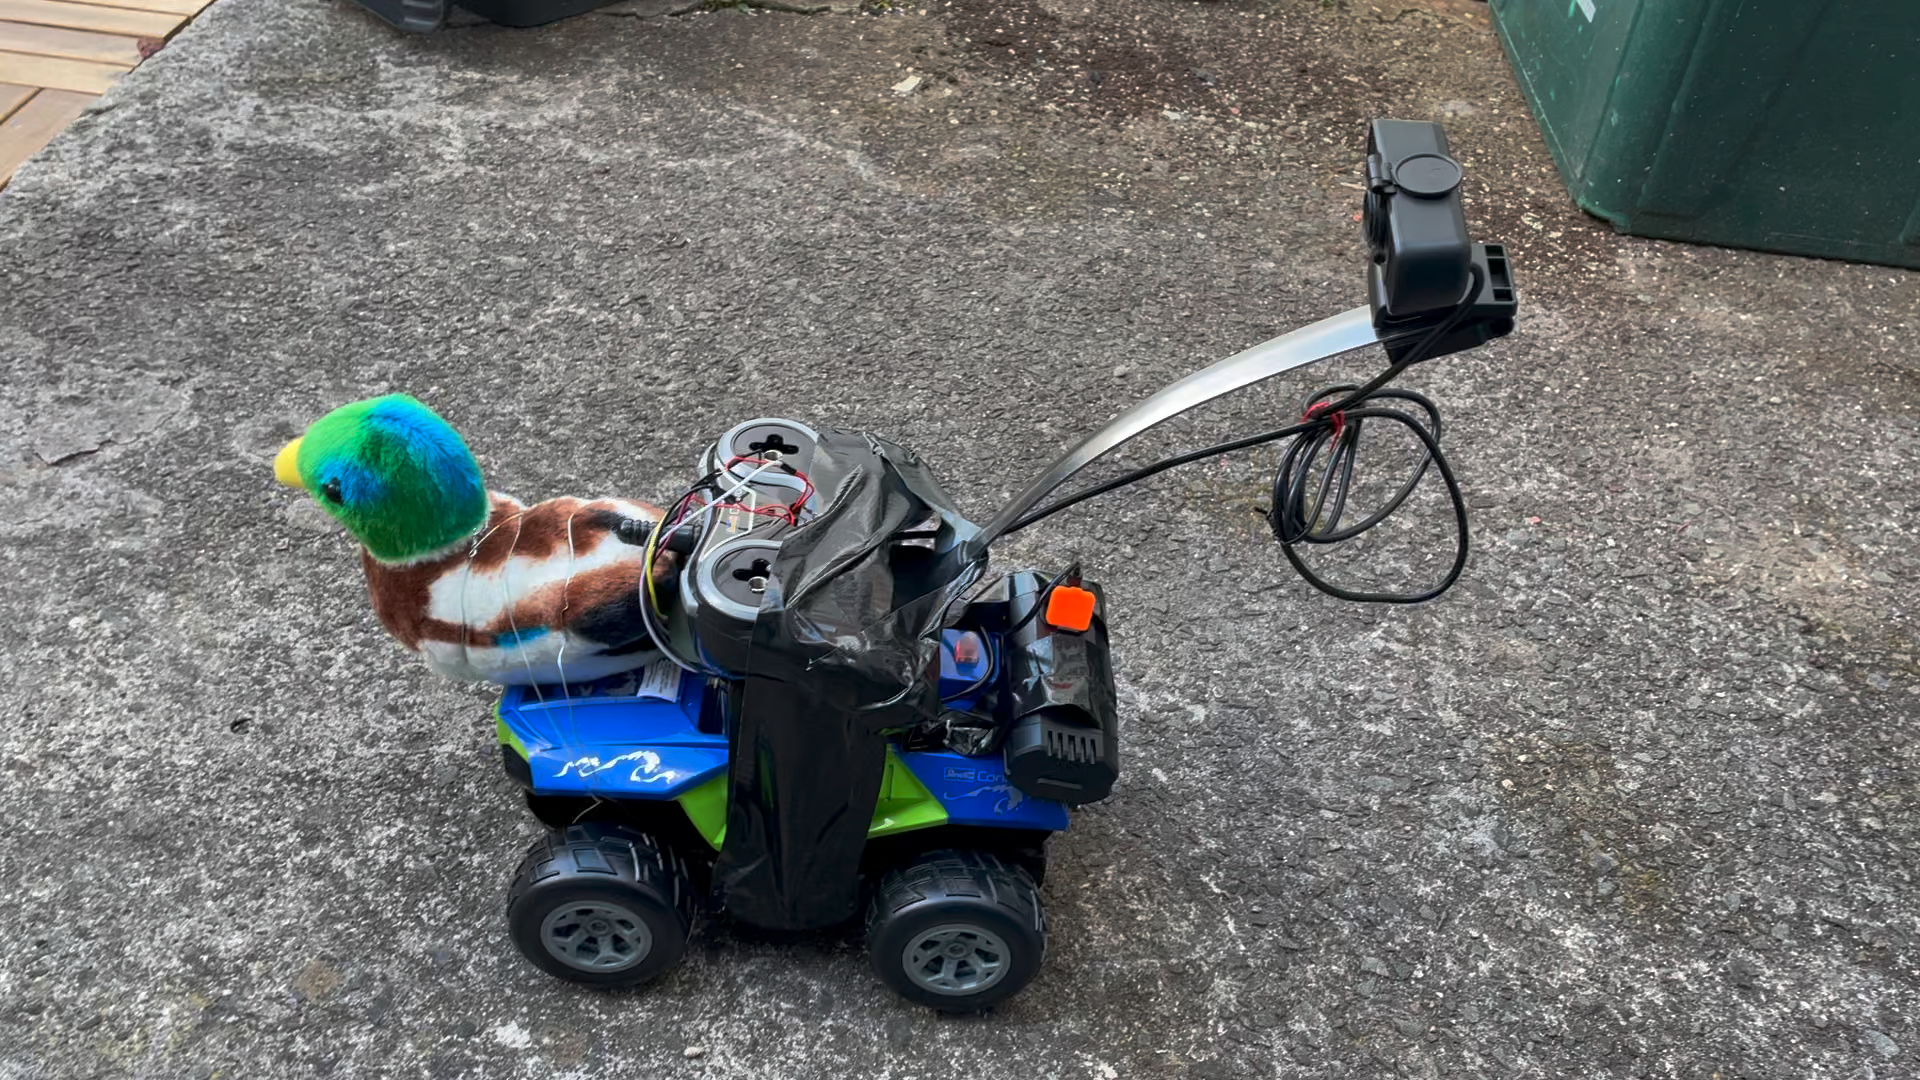
The plan was to hack a remote control truck so that it can be controlled from a website via a Raspberry Pi, which would also stream video so that users can see where they’re going. We decided our server and Raspberry Pi code would be written in Python, and the frontend would be written in React.
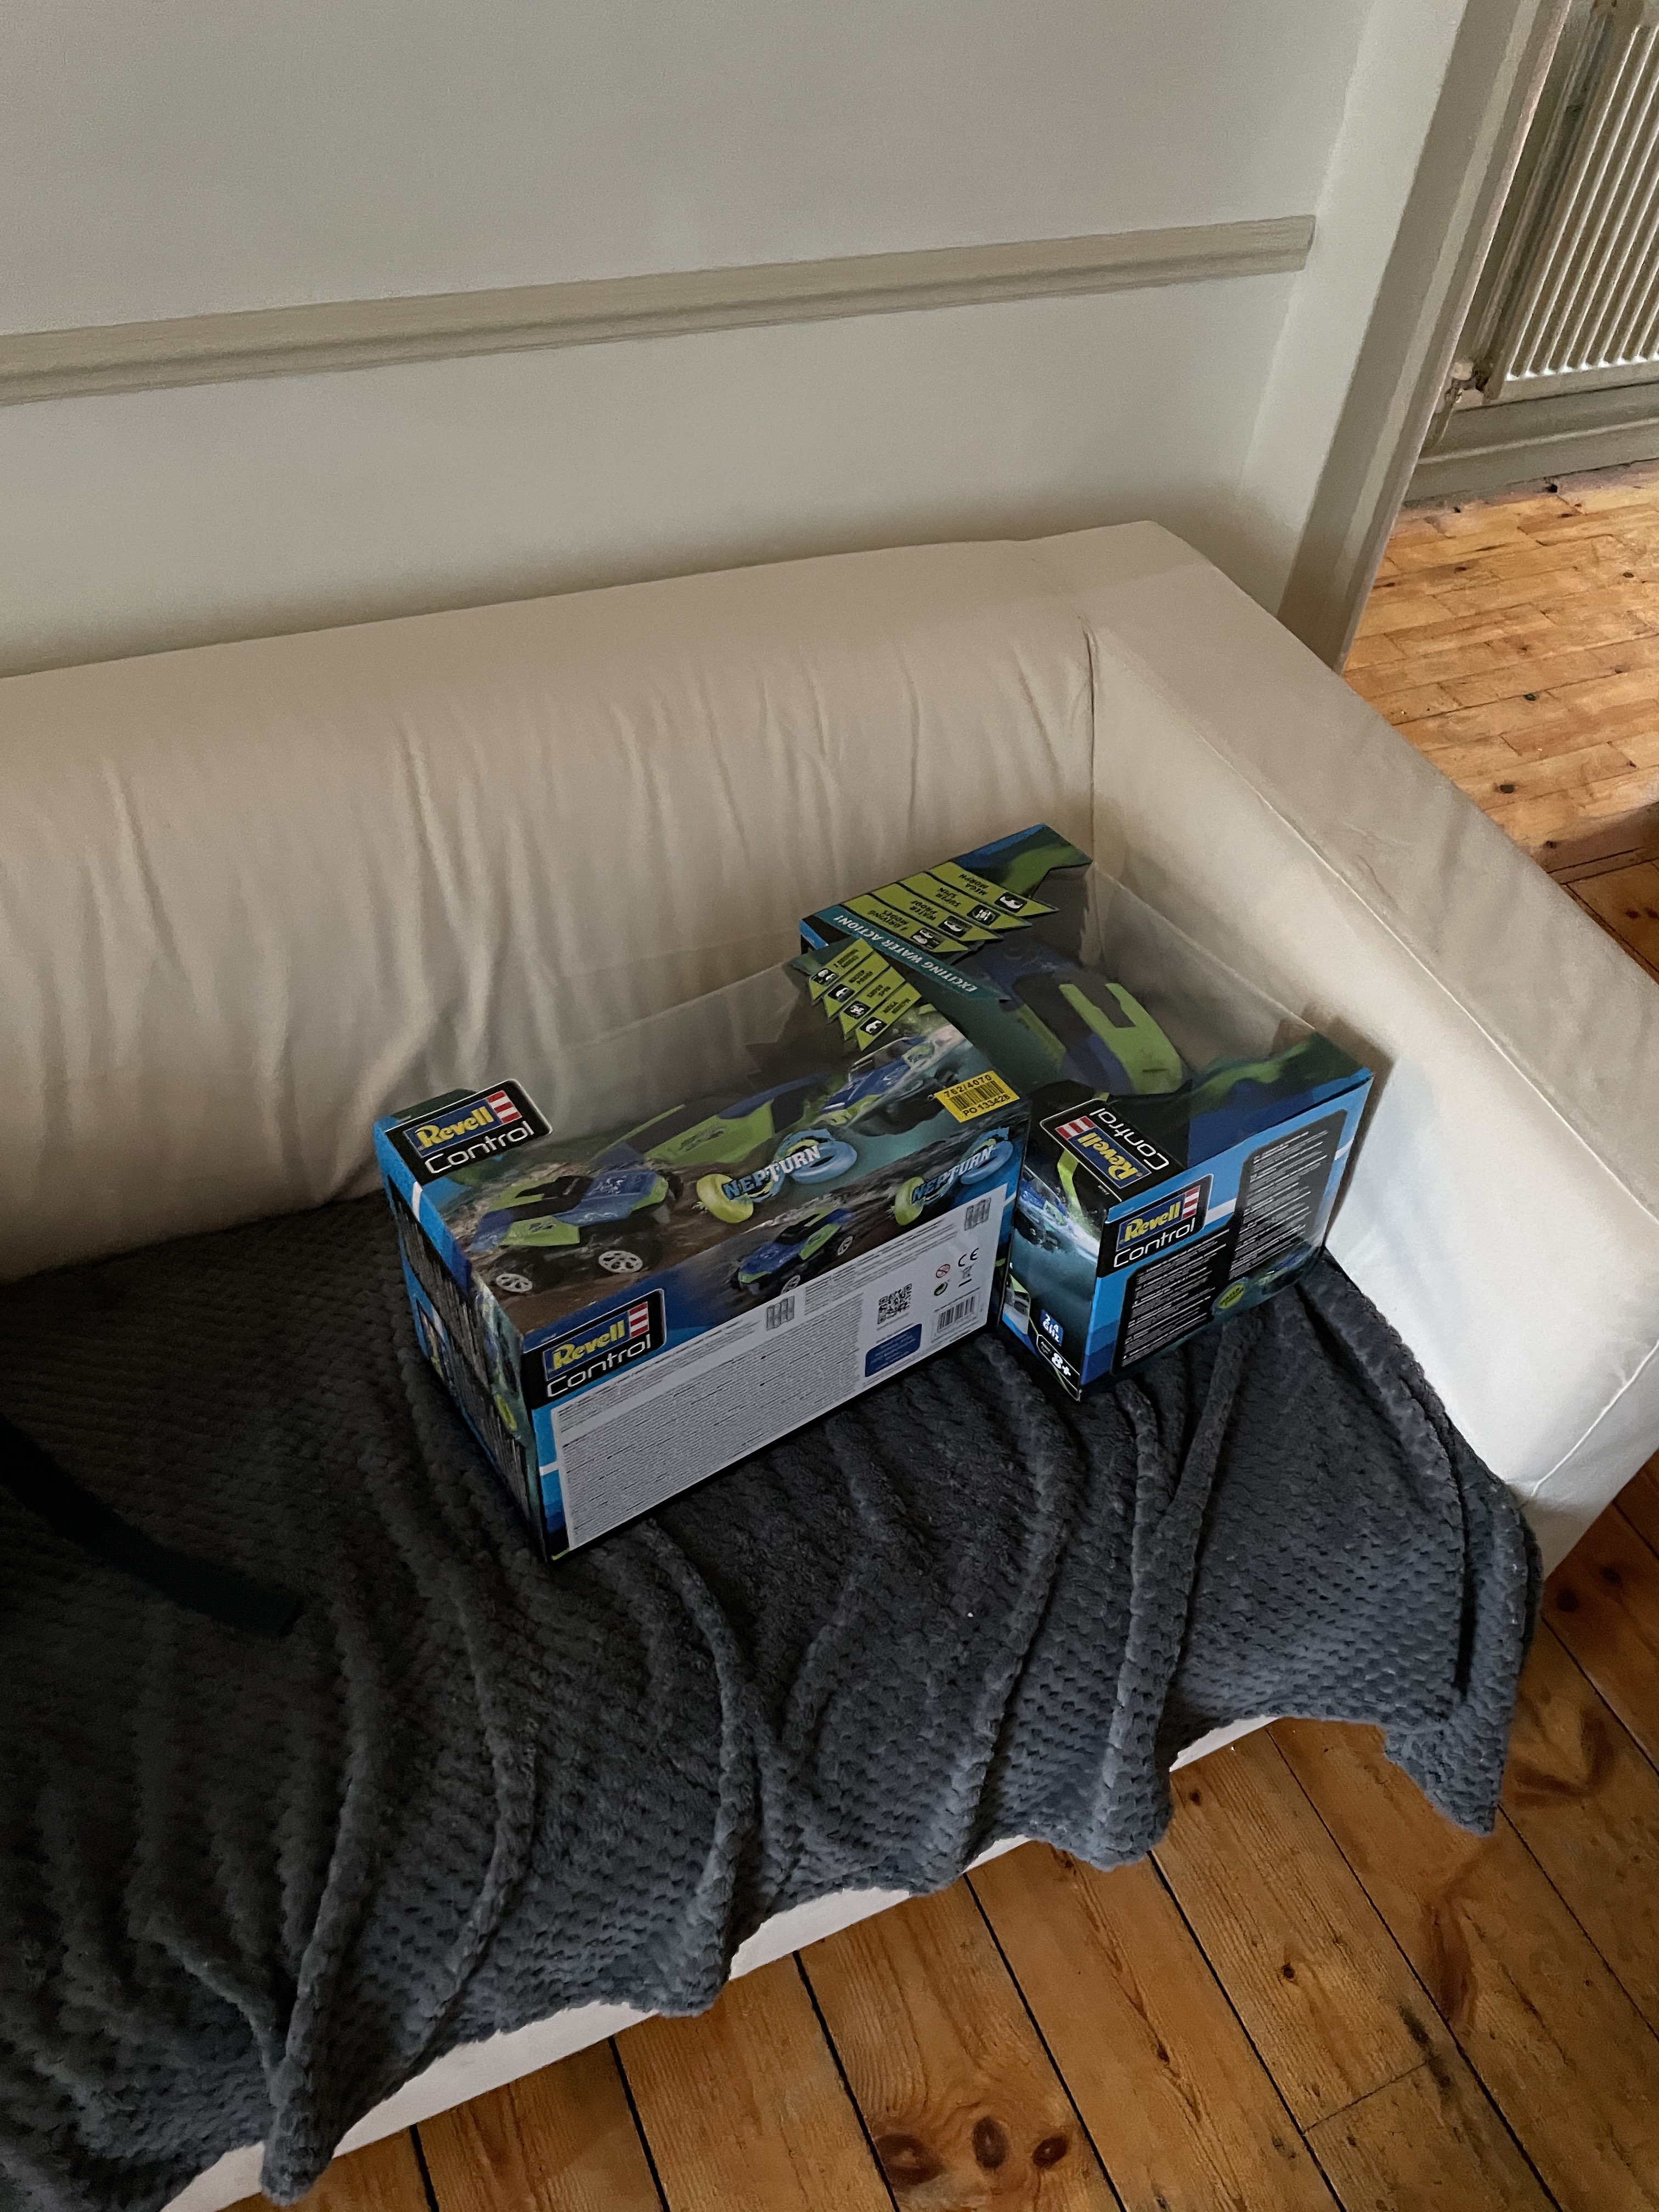
We bought two remote controlled trucks, in case we broke one (we did), and a soft duck toy.
Part 2: The First 10 Hours
After the opening ceremony was finished, we got to work. The rest of my team started work on the software, and I was in charge of trying to figure out how we were going to get the Raspberry Pi communicating with the RC truck. We had next to no electronics (mostly just LEDs and resistors), and my initial assumption of “we can just jump the button using the pi’s GPIO pins” wasn’t working out, and I couldn’t figure out why. Joe would figure this out later, but at that moment I decided to move onto trying to move the motors directly with the Raspberry Pi.
… which was a terrible, terrible idea. It turns out that Raspberry Pis are NOT built to drive motors, and I learnt this at the cost of frying mine after the car was in bits from trying to expose the motors. We should have been using a motor driver (such as this one), but we didn’t have one, and the shops were closed. We did find a chip inside the car (MX1919), but we couldn’t find a datasheet for it anywhere, or figure out how to use it.
I ended up breaking my Raspberry Pi, and it no longer works. I’m not exactly sure what broke it, but it could be any (combination) of the following:
- I shorted the negative and +3.3V pins
- I shorted the negative and +5V pins
- I tried to draw too much current (more than 50mA)
- Anything else: I was being careless
At this point I was frustrated and embarrassed: I had told my team that I could do this, they had invested their own time and money into this idea, and I was failing. After asking Sergios to see if he could get it to work, we started contemplating trying a different project.
Part 3: The New Idea
We discussed new ideas for a while, trying to think of something “novel” or “nifty”. We discussed QR Code Tag: an app where you must scan the QR code displayed on other players’ apps before they can scan yours, but settled on a URL encoded game engine.
The idea was that we would buy a short domain (such as one from y.at), and then write a page that would
read minified, unicode source code from the query, and then execute it. The code that would be stored in the URL
would have to be basic, but we thought that if the code was declarative and heavily used built-in functions and properties that would be
stored in the engine, it could work. These built-in functions/properties would be signified with a . at the start of the name.
Here is an example of what I imagined a basic Pong game could look like, before being minified:
// Left paddle
player1 = {
    .colour = #ff0000
    .tag = player
    .x = 10
    .y = 100
    .width = 10
    .height = 50
    .keyHeld(w) = .moveY(10)
    .keyHeld(s) = .moveY(-10)
}

// Right paddle
player2 = {
    .colour = #00ff00
    .tag = player
    .x = 480
    .y = 100
    .width = 10
    .height = 50
    .keyHeld(arrow_up) = .moveY(10)
    .keyHeld(arrow_down) = .moveY(-10)
}

ball = {
    .colour = #0000ff
    .width = 20
    .height = 20
    .onTick = direction * 20

    // Multiplier for left or right
    direction = 1

    // Toggle direction when collides with player
    .collideEnter(player) = {
        direction = direction * -1
    }

    // End game if the ball leaves the area
    .collideLeave(gameArea) = .endGame
}

gameArea = {
    .color = #ffffff
    .width = 500
    .height = 500
}
This obviously isn’t a perfect Pong game (the ball would always travel horizontally, without moving up or down), but if we could run this from a URL, it would prove that the system worked.
Once I had written the above, I started work on the minifier/encoder. Meanwhile, Joe had found a post online, describing exactly how to drive an RC car with a Raspberry Pi, using only the electronics we had access to.
Part 4: The Breakthrough
It turns out my original plan of jumping the buttons using the Raspberry Pi’s GPIO pins was exactly how you would do it, we just needed a 1k+ Ω resistor attached to the grounding connection, to reduce the current to the radio transmitter chip. Using a different, working Raspberry Pi, Joe started driving the car from the terminal, and we soon had the camera attached.

Excited about our first working prototype, we now had 11 hours to finish this project. We still needed to:
- Write code for the Raspberry Pi to control the car
- Write code for the server to control the Raspberry Pi
- Finish styling the frontend
- Link all of the above using sockets
The last point proved to be more difficult than first thought, as we couldn’t use python’s built-in sockets package
which we were using: it wasn’t compatible with React or Google Cloud Platform. After deliberating over how to fix
this problem, I decided I’d rewrite our existing code using WebSockets
(using the python-socketio package). We then had to fiddle with
version numbers due to the Raspberry Pi not supporting the latest build, but it finally worked.

I was relieved to have helped my team in the same way they had helped me. Although nobody was keeping score, I was happy to have put back in what I had gotten out; I suddenly felt a lot less guilty about not being able to get the hardware to work.
How it worked
The server would add new connections to a queue.
Only the person at the front of this queue could control the duck, and when their turn was over, they were moved to the
back. The time-keeping was done by the Timer class from the threading built-in module. (A different
thread was needed so that the server could do other things while it was waiting to move someone).
t = Timer(turn_length, next_person)

@sio.on('connect')
def on_connect(sid, environ):
    print("connect", sid)
    if len(queue) == 0:
        print("First person connected, starting their turn...")
        t.start()
    queue.append(sid)
    print(queue)
    sio.emit('queue', {"queue": queue})

def next_person():
    print("Next turn...")
    person = queue.pop(0)

    # Stop the car
    sio.emit('clear', {})

    queue.append(person)
    print(queue)

    sio.emit('queue', {"queue": queue})
    t.start()
Move commands were received from and sent to all clients, as the Raspberry Pi was connected like a user, except it was the only one to react to move commands. Only commands sent from the person at the front of the queue were re-emitted.
@sio.on('move')
def move(sid, data):
    print(data)
    if sid == queue[0]:
        print("Validated")
        sio.emit('move', data)
    else:
        print("Denied.")
The code running on the hardware simply set the GPIO pins to be high by running the functions it was told to. Python 3.8
doesn’t have switch-case statements (yet), so the code actually blindly
executed anything it was sent, after appending () to it. This means that we only had to send the name of a move (such
as F for forward), and the code will call the F() function.
@sio.on("move")
def move(data):
    exec(data[1] + "()")
This is obviously an awful idea: there are no checks throughout the system for injection attacks (or anything). But this was a hackathon, and we were very short of time. If we continue to develop this code, this is one of the first things that will be fixed.
Part 5: Presentation
Within the last hour before the deadline, we realised that our application wouldn’t deploy as expected: we were using Twitch.tv to host our livestream, and the HTTPS embedded stream wasn’t working on our HTTP website. We tried what we could to get it to work, but ultimately decided that our live demo could use Discord’s video streaming feature, as long as our website controlled the duck properly.
We made a short demonstration video, wrote about our project, and submitted in the last 5 minutes.
The project was well received at the presentation, and we had a good discussion with the judges. We invited them to control the duck, and although it didn’t completely work due to the batteries dying, they seemed to like it too.
After waiting a few more hours, we were announced as the winners of the “Most Impressive” award! We were delighted that all our hard work had been recognised, and that other people liked our RC duck as much as we did.
After a quick celebration, we tidied up the room we’d spent the last 28 hours in, and went to bed.
Future Development
After discussing with my team about how we could improve our RC duck, this is what we came up with:
-
Better design: although our prototype works, it definitely isn’t pretty. I’d like to 3D print a new body, and construct our own car, using motor driver electronics. This would remove a LOT of bulk.
-
LiPo batteries: towards the end of our project the 4 AA batteries that were powering the car were starting to lose power, meaning that the car slowed down, and even stopped turning. Rechargeable LiPo batteries used in hobby drones would be ideal new sources of power.
-
General Website Improvements: we could host our own stream to try to reduce some latency, make it mobile friendly, and generally tidy it up.
-
GPS module: a GPS module could be used to not only track where the duck is (to stop somebody stealing it), it could be used to mark boundaries that the duck can’t cross, to prevent it going in roads or into the campus lake. A map showing where the duck had been would also be really interesting.
-
Add security: there are currently NO security considerations
Closing Thoughts
 I had an amazing time with my team. Although at times we were all frustrated, we worked together really well, and I really think
that work paid off in the end.
I had an amazing time with my team. Although at times we were all frustrated, we worked together really well, and I really think
that work paid off in the end.
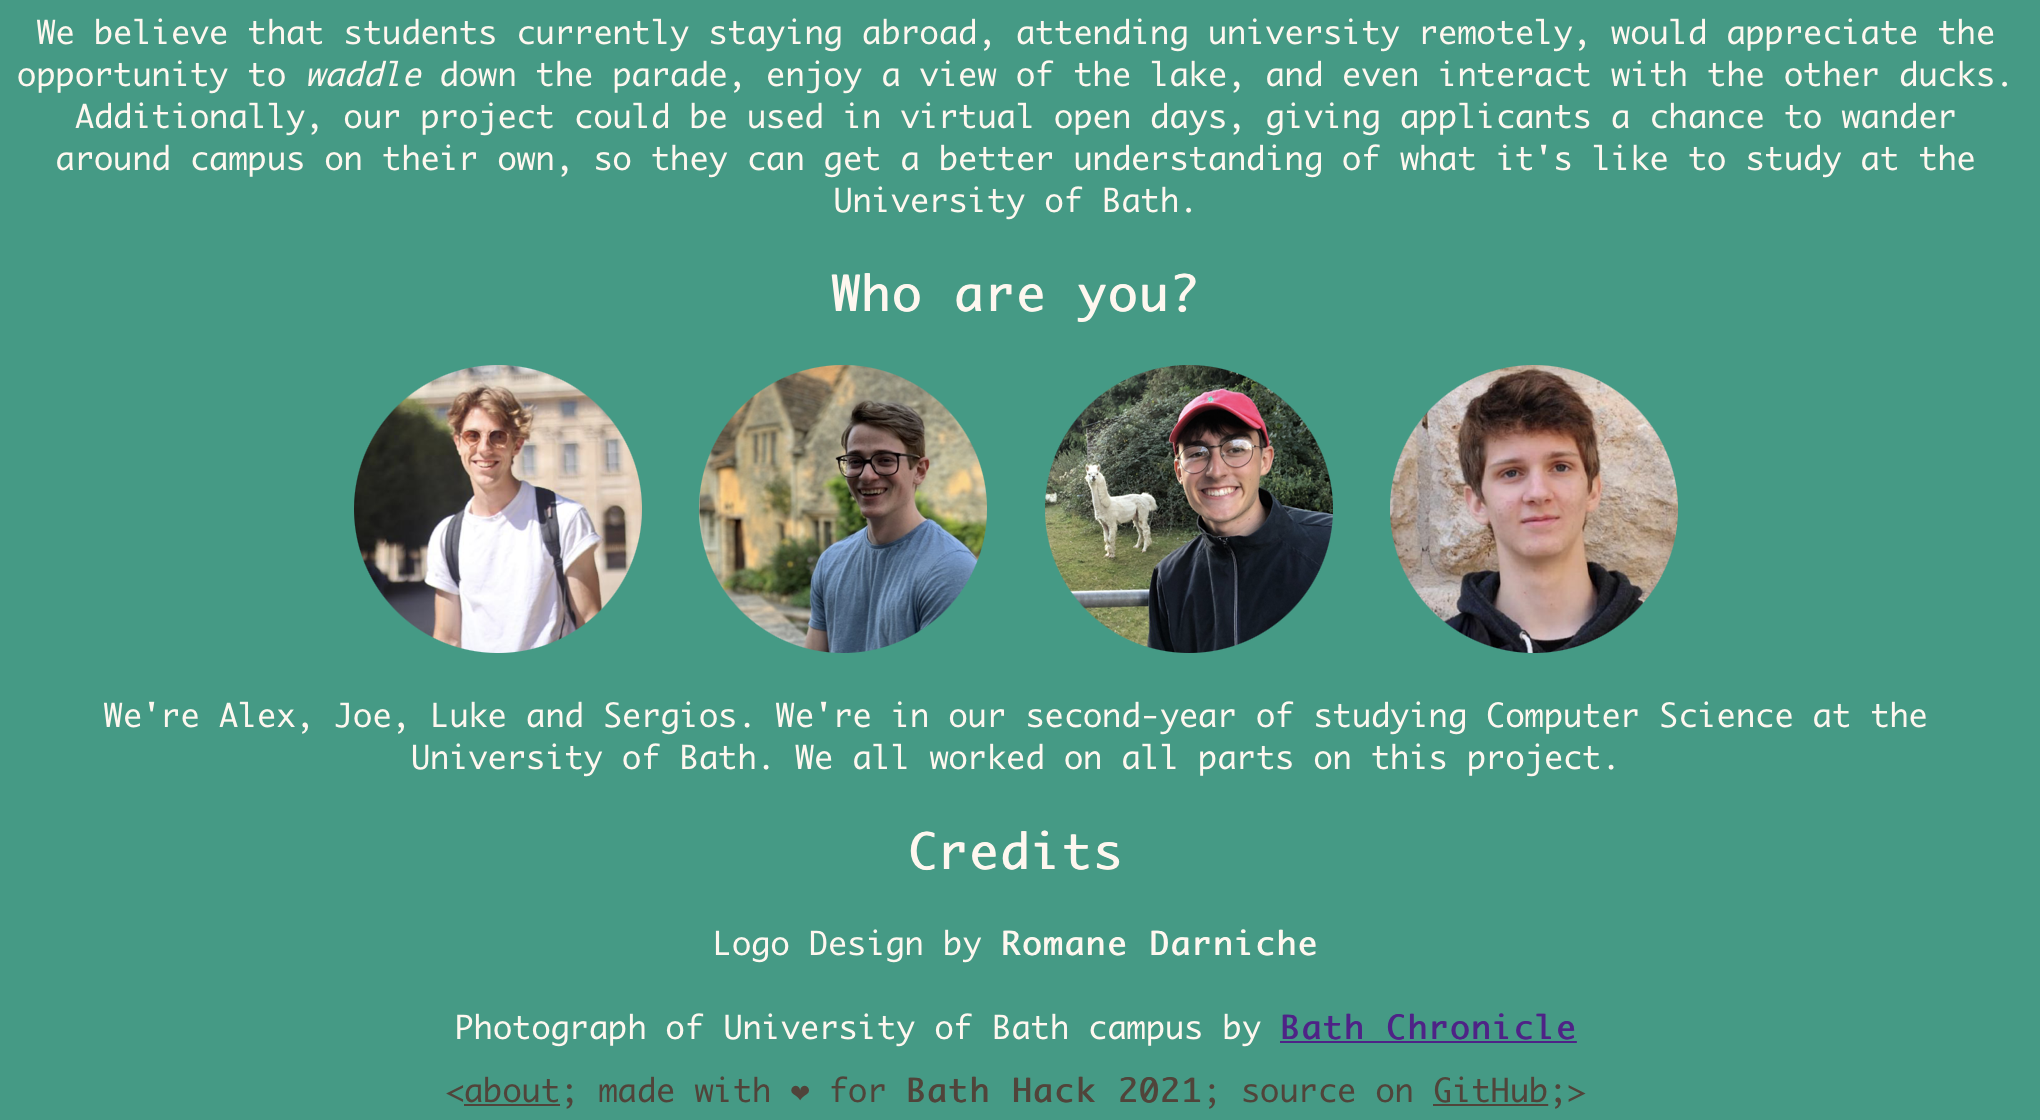
Thank you to Joe, Luke and Sergios; Romane, the BCSS committee, sponsors, judges, and all other participants!
tags: python - hackathons - react - hardware